
10 Top Tips for Better Smartphone Photos
In this blog, we’ll dive into the world of mobile photography and explore some techniques to elevate your skills, regardless of the phone model you use. Whether you’re a taking photos for your blog, family album or brand the modern phones are super capable.
We have been using our smartphones to capture many of travel photos and videos and you can get great results with your phones especially with a few tweaks to your mobile photography game.
HOLD YOUR PHONE STILL
Our phone’s give us an amazing amount of flexibility when it comes to taking photos but they are still sensitive to movement. One of the most basic steps to avoid blurry or warped photos, is to steady yourself and steady your camera.
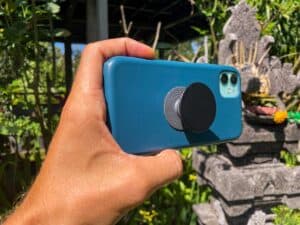
Hold your phone securely or support your hand or arm to prevent wobbling, or prop your phone up using books or similar objects to steady your phone. Using a portable tripod is recommended when possible.
I use a pop socket grip on the back of my phone and it makes a huge difference when taking photos and especially videos.
AVOID ZOOMING IN

When you take a photo from a distance, it’s tempting to zoom in on something specific you’re trying to capture. Don’t! The quality of your picture will be reduced, leading to grainy or blurry shots.
Instead, move yourself to try and get closer to your or if that’s not possible, take the photo without the zoom, and crop it later on.
The picture quality won’t be compromised, and it’s easier to edit the larger image. Have binoculars? try putting them in front of your lens for an impressive zoom or invest in a lens attachment on amazon
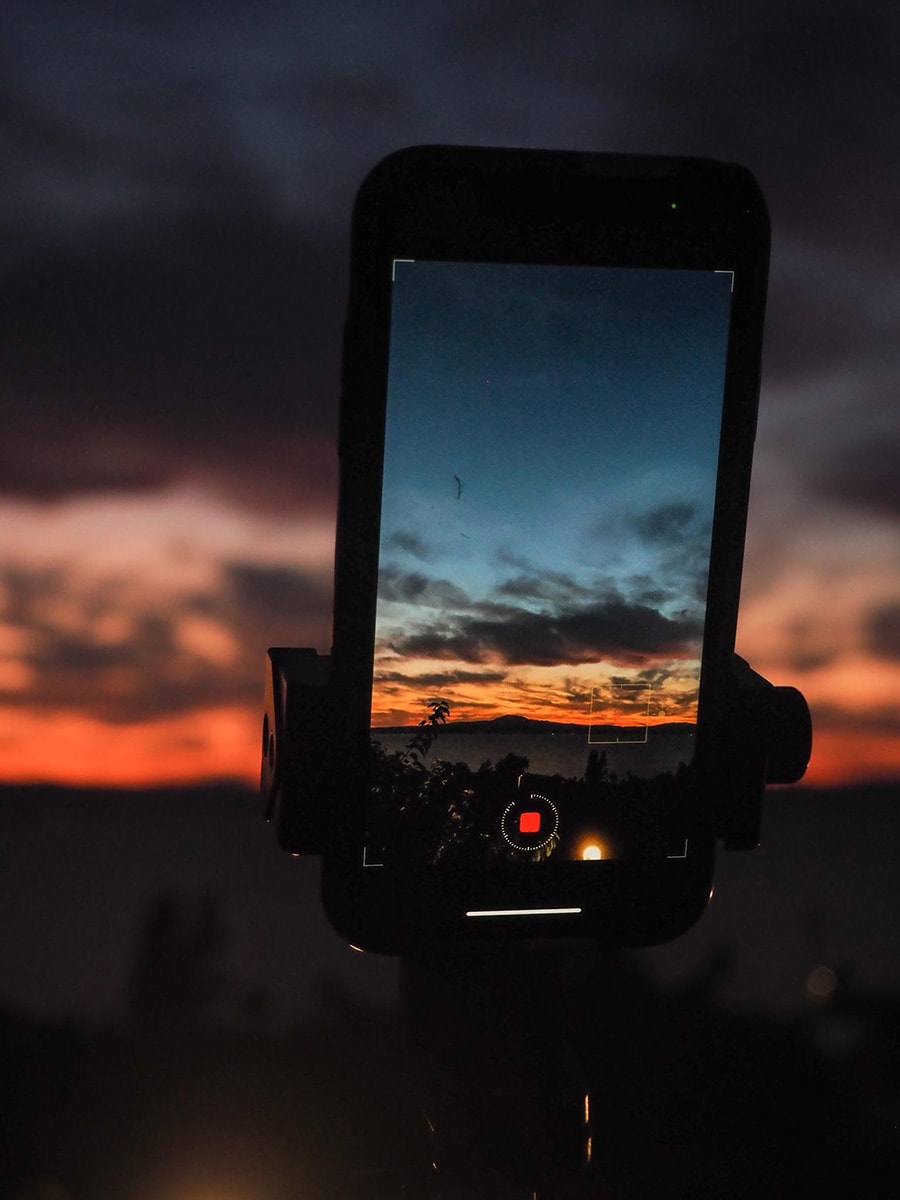
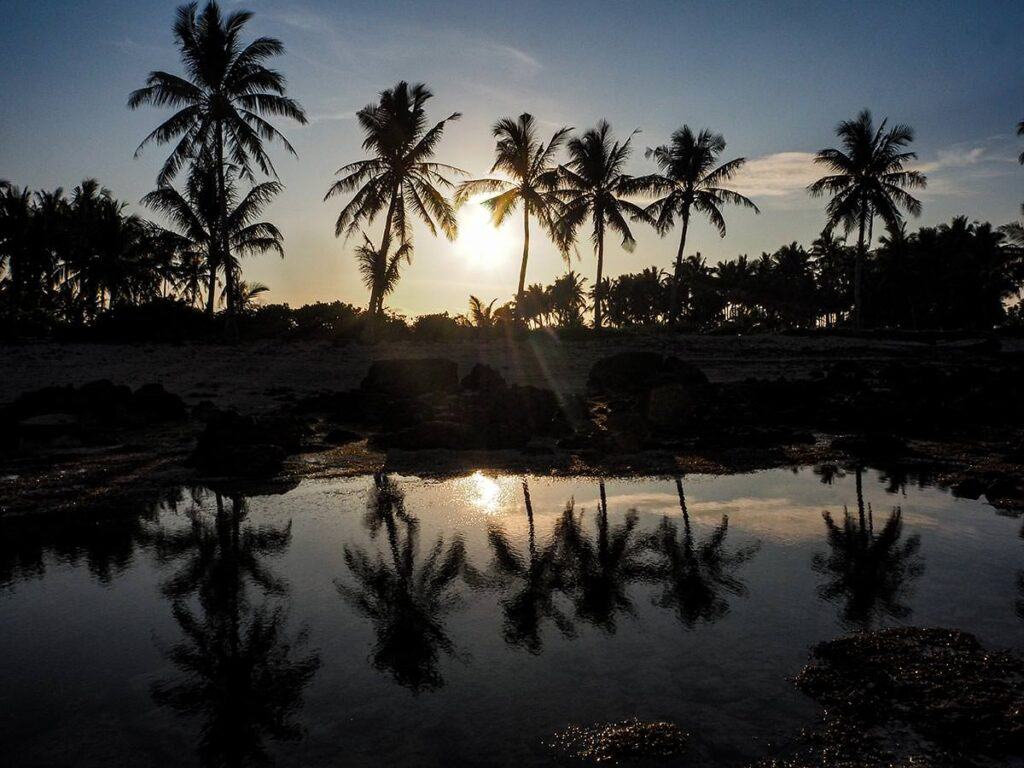
USE NATURAL LIGHT

Lighting is very important in achieving a good photo. Natural light is one of the best tools you can use. Using your phone’s flash will make the image look overexposed, negatively altering colors and making human subjects look washed out.
Check out what effect the different time of day has on your photo’s, sunrise, midday and sunset will give you dramatically different looks. Take advantage of the sources of natural light you can find, even after dark.
You can always try to play with shadows, like or create a silhouette with other ambient sources of light.
USE GRID LINES
Your phone has a fantastic tool built in to help compose your pictures. Use the gridline feature to superimposes a series of lines on the screen of your smartphone’s camera that are based on the rule of thirds.
If you position points of interest on the intersections or lines of the grid, your photos will be more balanced and attractive to the eye.

LEVEL UP YOUR SMARTPHONE VIDEOS HERE
SET YOUR CAMERAS FOCUS
Your phone has an automatic focus feature which will usually focus on the foreground of your frame, but not every picture you take on your phone has an obvious subject. What would you like the focus of your picture to be? To adjust where you want your camera lens to focus, and tap the screen where you want to sharpen the view. This can give the effect of blurring those details you choose not to focus on.
TRY SOME HDR
HDR mode or High Dynamic Range, is able to better balance the light and dark areas of your shot. It will prevent high contrast shots. It’s a great tool to use especially for landscape photography. If there’s a big difference between the lightest and darkest parts of your scene, using the camera phone’s HDR function it’s a good idea.

DON’T USE THE FLASH AT NIGHT
Phone flashes at night will rarely produce a good shot. The sharp contrast to the dark creates a harsh light for the subject. However, if you have good lighting, a flash can even and balance some dark shadows around your main subject. Play around with the setting to see which works best.
MANUALLY CONTROL THE EXPOSURE IF NEEDED

Many phones tend to overexpose slightly so manually adjusting the exposure, or how much light is allowed into the lens, can help your photos pop. In the camera app for iphone and Android: Tap once for focus, then you can adjust exposure via the slider that pops up at the side or top of the screen. For night shots with bright lights it helps to slide the exposure down a little to get that cinematic effect.
FIND DIFFERENT PERSPECTIVES
Think about the position you usually take your pictures in. Most pictures we take from straight on but by taking a photo from an unexpected angel provides an alternative view, creates and illusion of height or depth or even makes them more memorable.
Try taking a photo from the ground shooting upwards, allowing the sky to be your negative space.
PLAY WITH REFLECTIONS
Reflections and mirroring of an image is very eye catching and can completely change the appearance of your shot. There are many surfaces that can be used to create this effect. Look for opportunities in nature, using water from a lake or even a puddle can create an interesting effect. Sunglasses and metal surfaces can also provide an opportunity to try this technique.
Follow us on Instagram


You May Also Like
4-day Itinerary for Cairo with Kids

Exploring Worldschool Communities for Family Travel
